This article gives you essential advice to set up as quickly as possible. We have a house of more than 160 m², so it was necessary to implement cleaning techniques so that we no longer spend two hours a day cleaning.
The house has many modern features, such as an air/water heat pump, salt pool, or hydraulic heating. The goal is not to demoralize you by doing everyday tasks, but on the contrary, to make them easier for you.
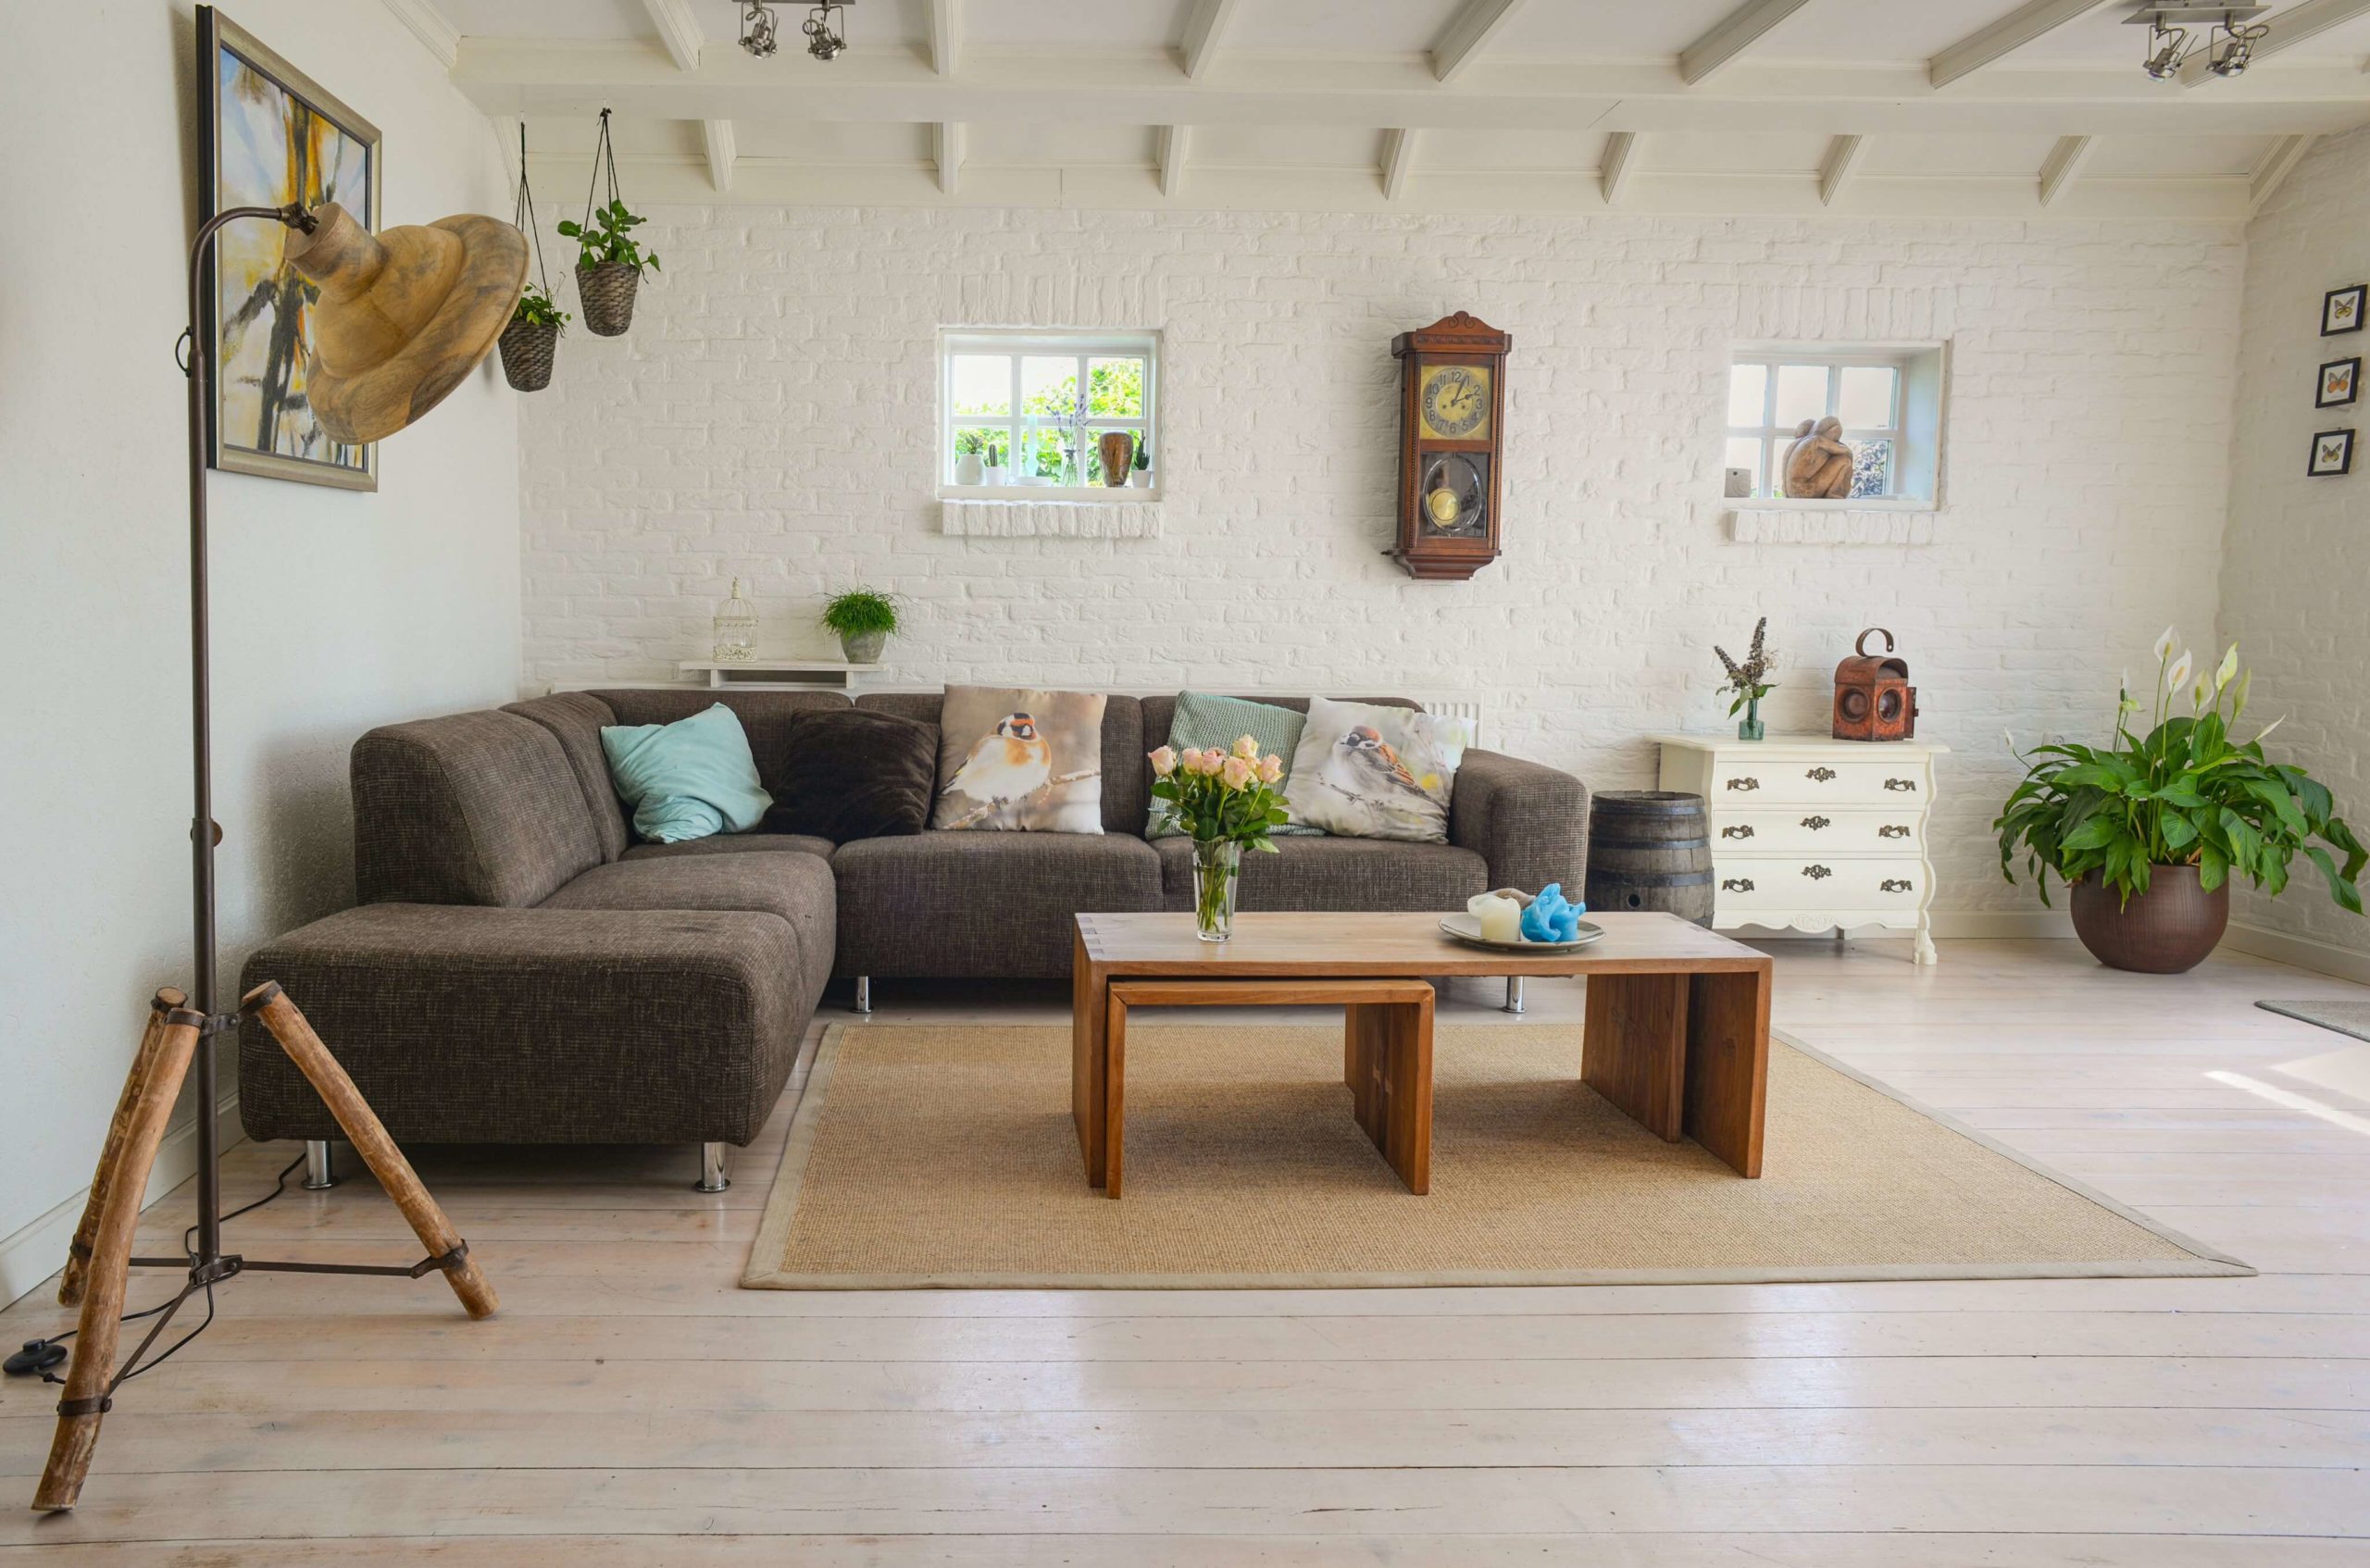
Day 1 and 2: Organize the living room, according to Ana Ziccardi’s advice
1- Pick up all objects that do not belong to the living room environment, such as clothes, books, papers, and DVDs. Put everything in plastic baskets: you can either sort them according to the rooms or the people living in the accommodation.
Thus, by choosing this last option, you make all the family members responsible.
2- Throw away old newspapers and magazines; if you collect magazines, store them inappropriate magazine racks or create a storage space dedicated to this collection.
3- Create a place near the front door to leave keys, smartphones, wallets, and mail. It can be a tray or a bowl matched with decor. Hooks are a solution, but not so interesting: you will have to make holes in the wall.
I chose a decorative object (a statue with a tray) for my part. Very modern and brings a touch of originality to your interior.
4- “Too many photos/paintings pollute the environment,” explains personal organizer Anna Ziccardi. Therefore, focus the frames on a side table or use the digital frame.
Another option: leave an album or photo book with favorite photos on the coffee table. This last option is trendy and acts as a guest book of family memories.
5- Keep CD/DVD/USB/SD CARD in specific organizers. If you want to keep them in the original boxes, wipe them every 15 days to remove dust. For my part, I grouped them in a box.
6- The crockery for extensive evenings such as Christmas, birthdays, do not store them in the kitchen furniture. A tip: separate the lids from everyday to special occasions. My kitchen being large, I added elements in height in the kitchen to store the porcelain and the crystal glasses.
If your kitchen is small, add a small element, such as a sideboard or a showcase. You can also create a bar area with appropriate glasses and bottles. Place in a tray, glass carafes, and glasses within the buffet, and the effect will be magical.
7- Organize paintings or wall sculptures. The center of the frame should be 1.6m above the ground. The frames above the furniture should be distributed symmetrically from the center of the furniture. Place them 25 cm above the back of the sofa and 20 cm from the sideboard.
Before drilling into the walls, test if you like the new layout of the pictures. Cut sheets of paper with the frame’s dimensions, stick them in the desired places, step back and admire your “frame.” Please then drill by taking the measurements.
Always double-check before making a hole.
8- Take new habits. Whenever you eat in the living room, take the dishes and glasses to the kitchen; recycle old newspapers; no longer misplace the keys in the house (only in the Keyring).
Day 3: Organize the office, according to Ziccardi and Oliveira (professional organization specialist)

9- The computer desk should have as few objects as possible. Leave a pencil case, folder, binder, or inbox and a holder for papers and a calendar.
10- Reduce the amount of paper. Keep only the essentials; for example, throw away promotional letters or envelopes as soon as you have opened your mail. Sort it right away and put it away in the appropriate briefcases.
11- Keep only the papers you will keep at work and the essentials, such as proof of payment of bills, personal documents, house, and car insurance.
12- Put the work papers in specific boxes or store them in organizers or binders separate them according to each function. Scan other documents whose information you want to save.
You want to keep your children’s drawings: digitize them or create an album of their most beautiful drawings.
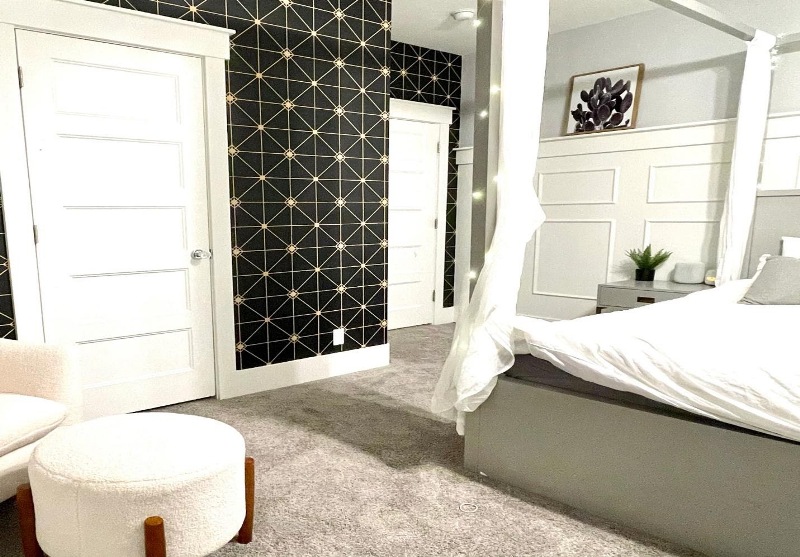
Day 4: We tackle the bedroom (full of chronic clutter)

13- First, throw away old magazines and newspapers, unused papers, and scattered garbage.
14- Reduce the number of objects on the bedside table. Minimize the number of unnecessary decorative elements. Avoid overloading your bedside tables. A book, a lamp, and a small decorative object are sufficient for a bedside table.
15- Organize books by size or color of spines. Create a small library? Yes, provided you clean it once a week or more if you suffer from allergies. Attention, dry cleaning, books do not appreciate any product or damp cloth.
16- Donate unused toys and throw away broken toys. Store the remaining toys in different boxes, depending on their type. Label boxes, so children know where to store toys. If they can’t read, draw the kind of play in the box.
Your child can participate in the tidying up of his room by playing. For example, the drawing can be made by itself.
17- Take new habits as soon as possible! Every morning, remove items from the room that do not belong in the space, such as cups, plates, books in the room.
Breakfast in bed, take a tray to avoid getting crumbs everywhere, and immediately remove items belonging to breakfast.
18- As soon as you get out of bed, ventilate the room for 10 to 15 minutes. You have time to prepare during this time. Then make the bed. You don’t have time, and I give you this little advice: try to get up earlier.
For my part, I have staggered schedules (I can start very early in the morning as at “executive” hours); in both cases, I always get up 15 minutes earlier than expected.
Difficult to make the bed in the morning: simplify the task by putting on a sheet and a duvet. You no longer have an excuse not to.
19- Before going to bed, put away your clothes. You can either install hangers or hooks or even a valet. This option brings a decorative element into the room and storage. Dirty laundry: direction laundry basket or washing machine.
Day 5: Organize clothes and shoes in a closet

20- First, remove clothes and shoes from the closet to ventilate your dressing room or closet. At first, sort and put the clothes in a bag for clothes to give away. These are clothes that we have not worn for more than a year. Don’t forget to throw away the defective ones (yes, we keep them from time to time!!!).
21- Separate summer clothes from winter clothes and everyday clothes and evening dresses. Fold sweaters, sportswear, and T-shirts. They can be stacked (on weak batteries) in drawers and shelves.
Shirts, dresses, coats, and suits should generally be hung on hangers. You can use special suit hangers which are more resistant and suitable. Hangers are sturdier.
22- Place everyday clothes in an easily accessible space. You don’t have to waste time looking for your clothes. Easy to access, you won’t wrinkle other garments anymore. In winter, keep coats and jackets on hangers. In summer, you have two solutions: keep the clothes in hangers undercover.
If your closet is small, storage covers are for you. How vacuum covers work: you store the sweaters in bags, and under the air from the vacuum cleaner, the bag will be smaller and smaller.
23- In addition to separating by season, organize the clothes according to the logic you prefer: the frequency of use, the size, or the color.
24- On the shelves, make piles with few parts – so that they are easy to access and the clothes easier to remove. For example, 10 T-shirts per stack are sufficient.
Fold the bedding sets and arrange them into groups, placing the pillowcases inside the cover—wrap towels in tight rolls. Store them on shelves or drawers. The must: sort them by color.
25- Arrange the shoes to see them all at once – it’s worth using a pull-out shelf, those that work as drawers. Carrier racks, fabric, or yarn are a cheaper alternative. Avoid stacking the shoes, and if you can’t, you have to follow specific rules. Put your sandals on your shoes. Finally, the boots must remain straight.
So a simple little trick: put plastic bottles to stay straight. Another option is to store them attached to a hanger with loops.
Day 6: Facing kitchen chaos, according to Juliana Faria
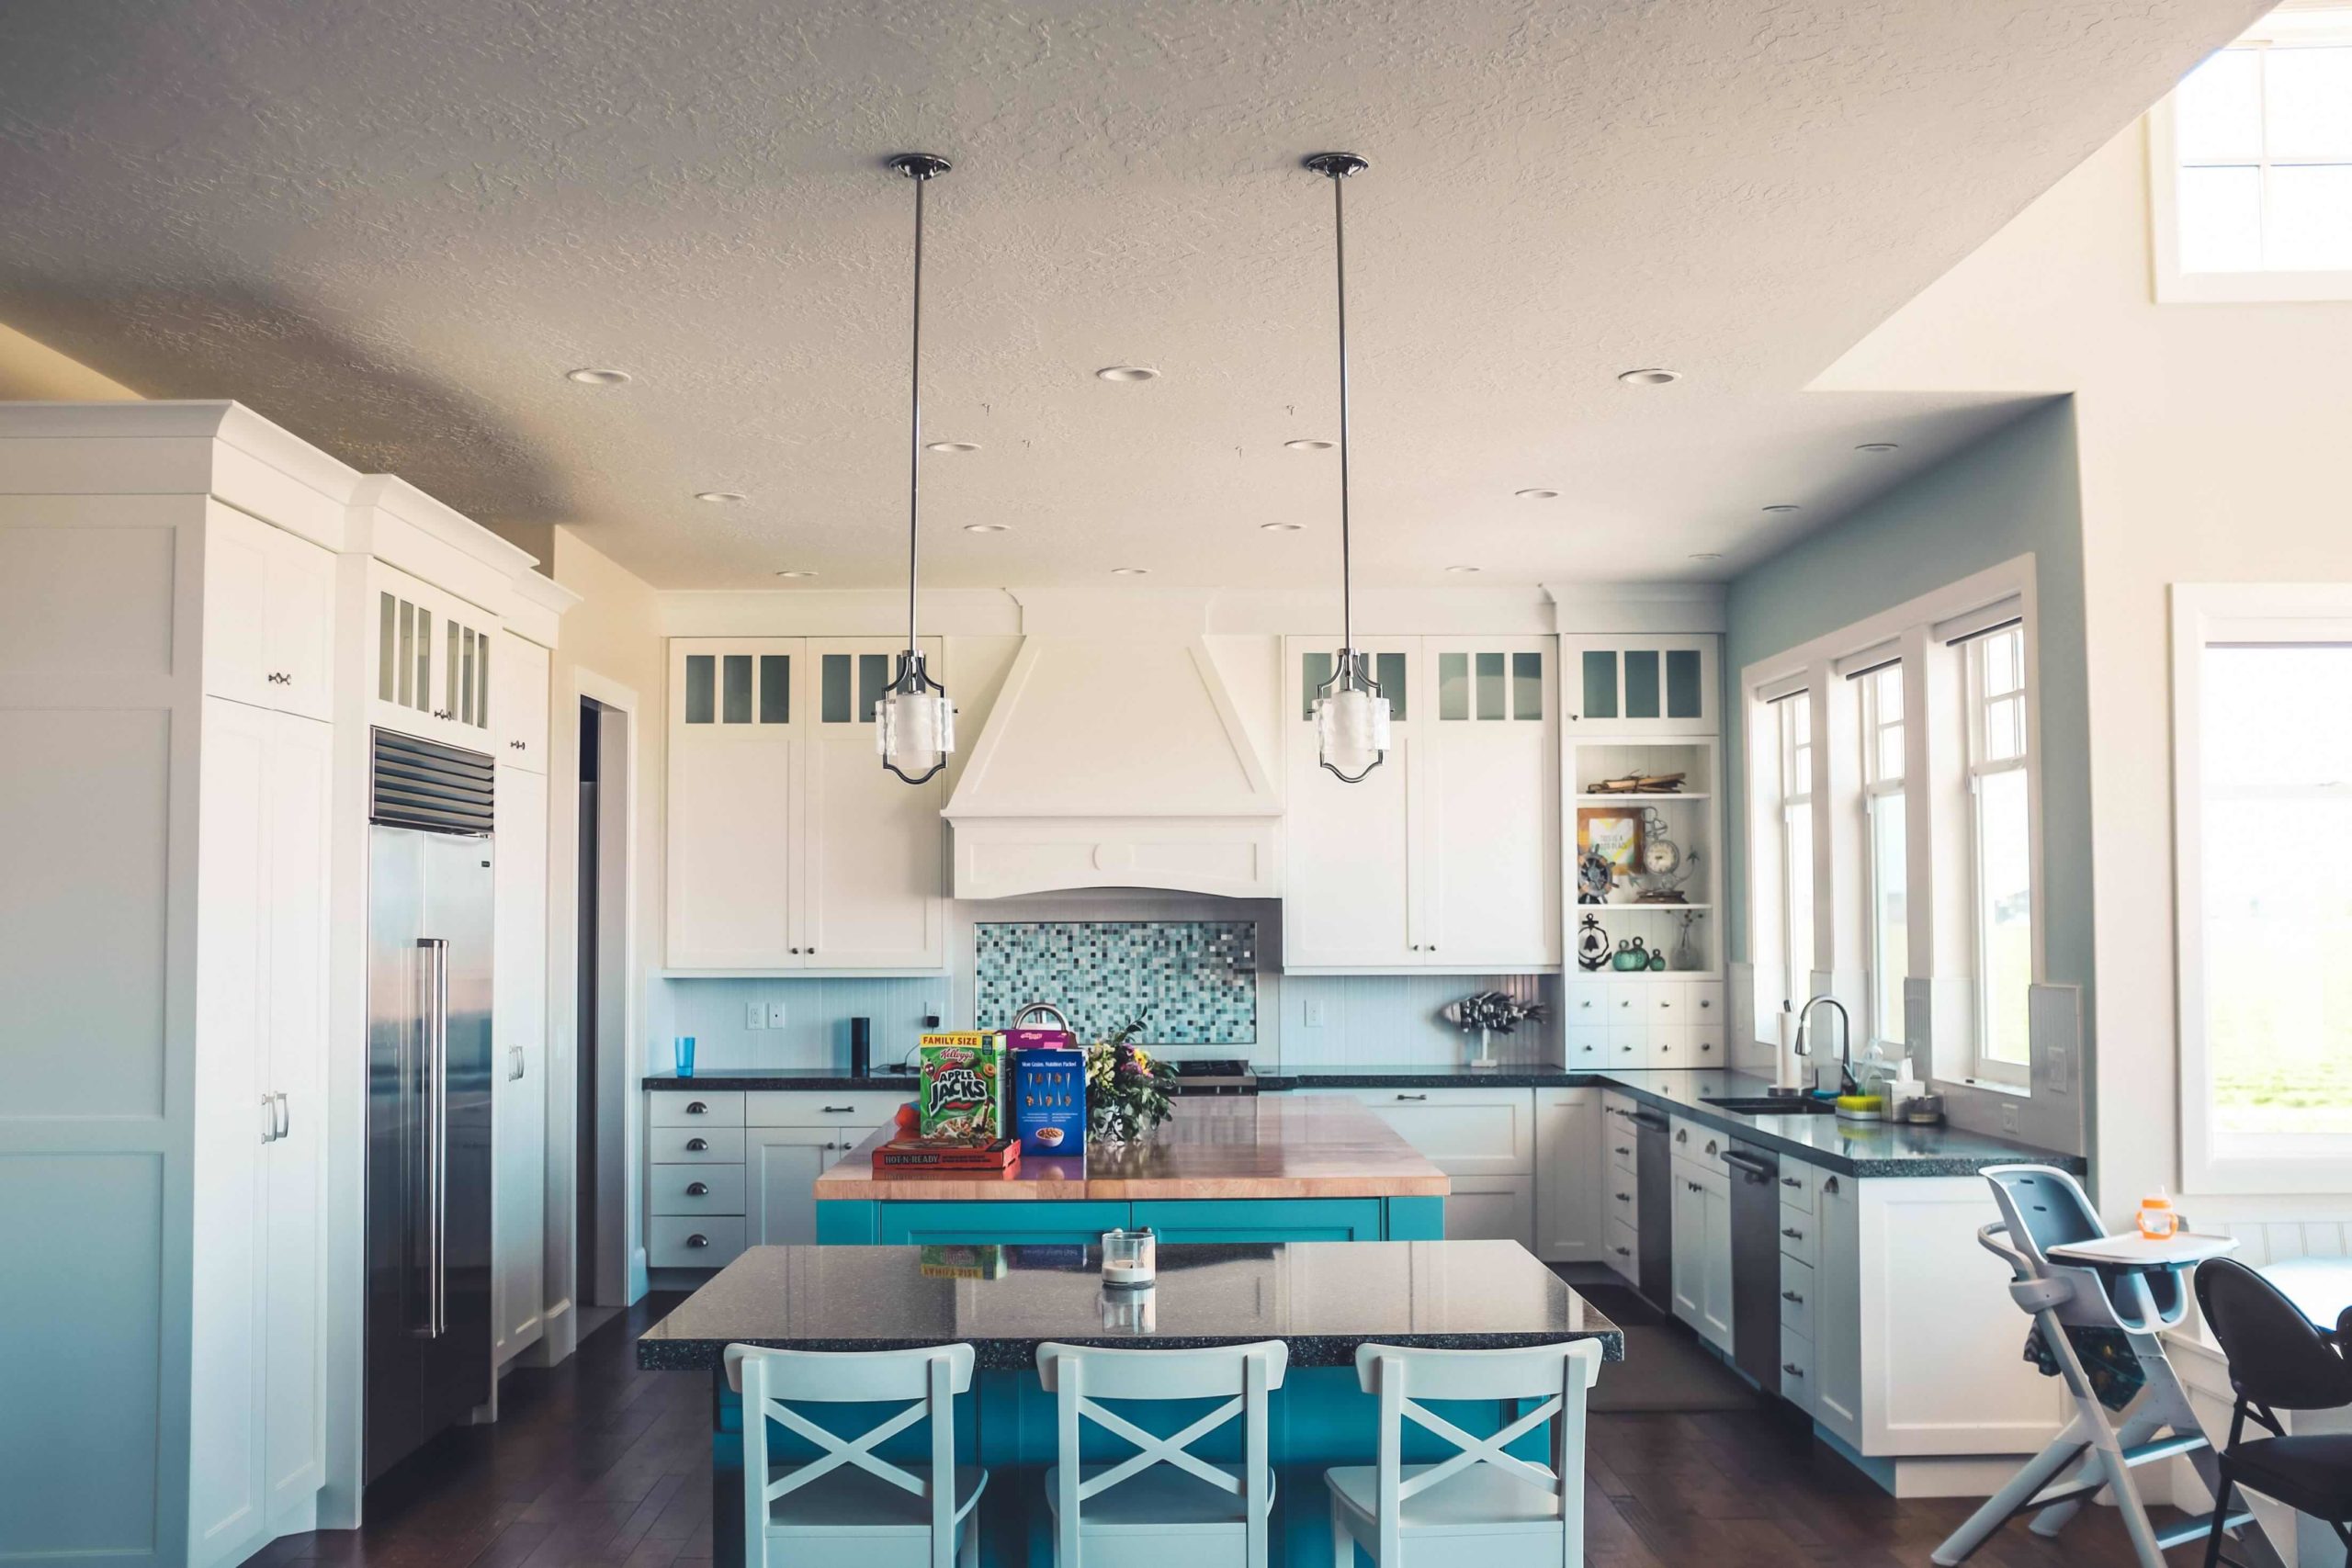
26- The essential!! First, wash the dishes, then clean the stove, counter, and cabinets. Leave only everyday items on the counter — like a coffee maker and juicer, if you juice every day.
27- Organize closets. Stack dishes in a cupboard for easy access. So that they do not ring, make several piles like clothes. Thus, creating different stacks depending on the size of the dish and their use.
The racks of cups and bowls are a maximum of 3. The glasses stand upside down in the cupboard. Fix the cups by the wing on the hooks fixed above the shelves or under the cabinet.
28- Place cutlery in drawers with internal dividers and separate forks from knives and spoons. Another solution is to put them upright in glass jars, also separated. Use accessories that lock the drawers if you have a child at home. The safety of children is paramount.
29- ORGANIZE your vertical cabinets. Install vertical dividers in the cupboard and store frying pans, saucepans, lids, and small saucepans. It will be easier to remove and use them. Stack the jars and store their lids in a plastic box, from largest to smallest.
30- Cleaning materials must go in a plastic basket without a lid. Clean your sponges (small tip: a few seconds in the microwave with vinegar).
Day 7: Put everything in its place in the bathroom, according to Oliveira
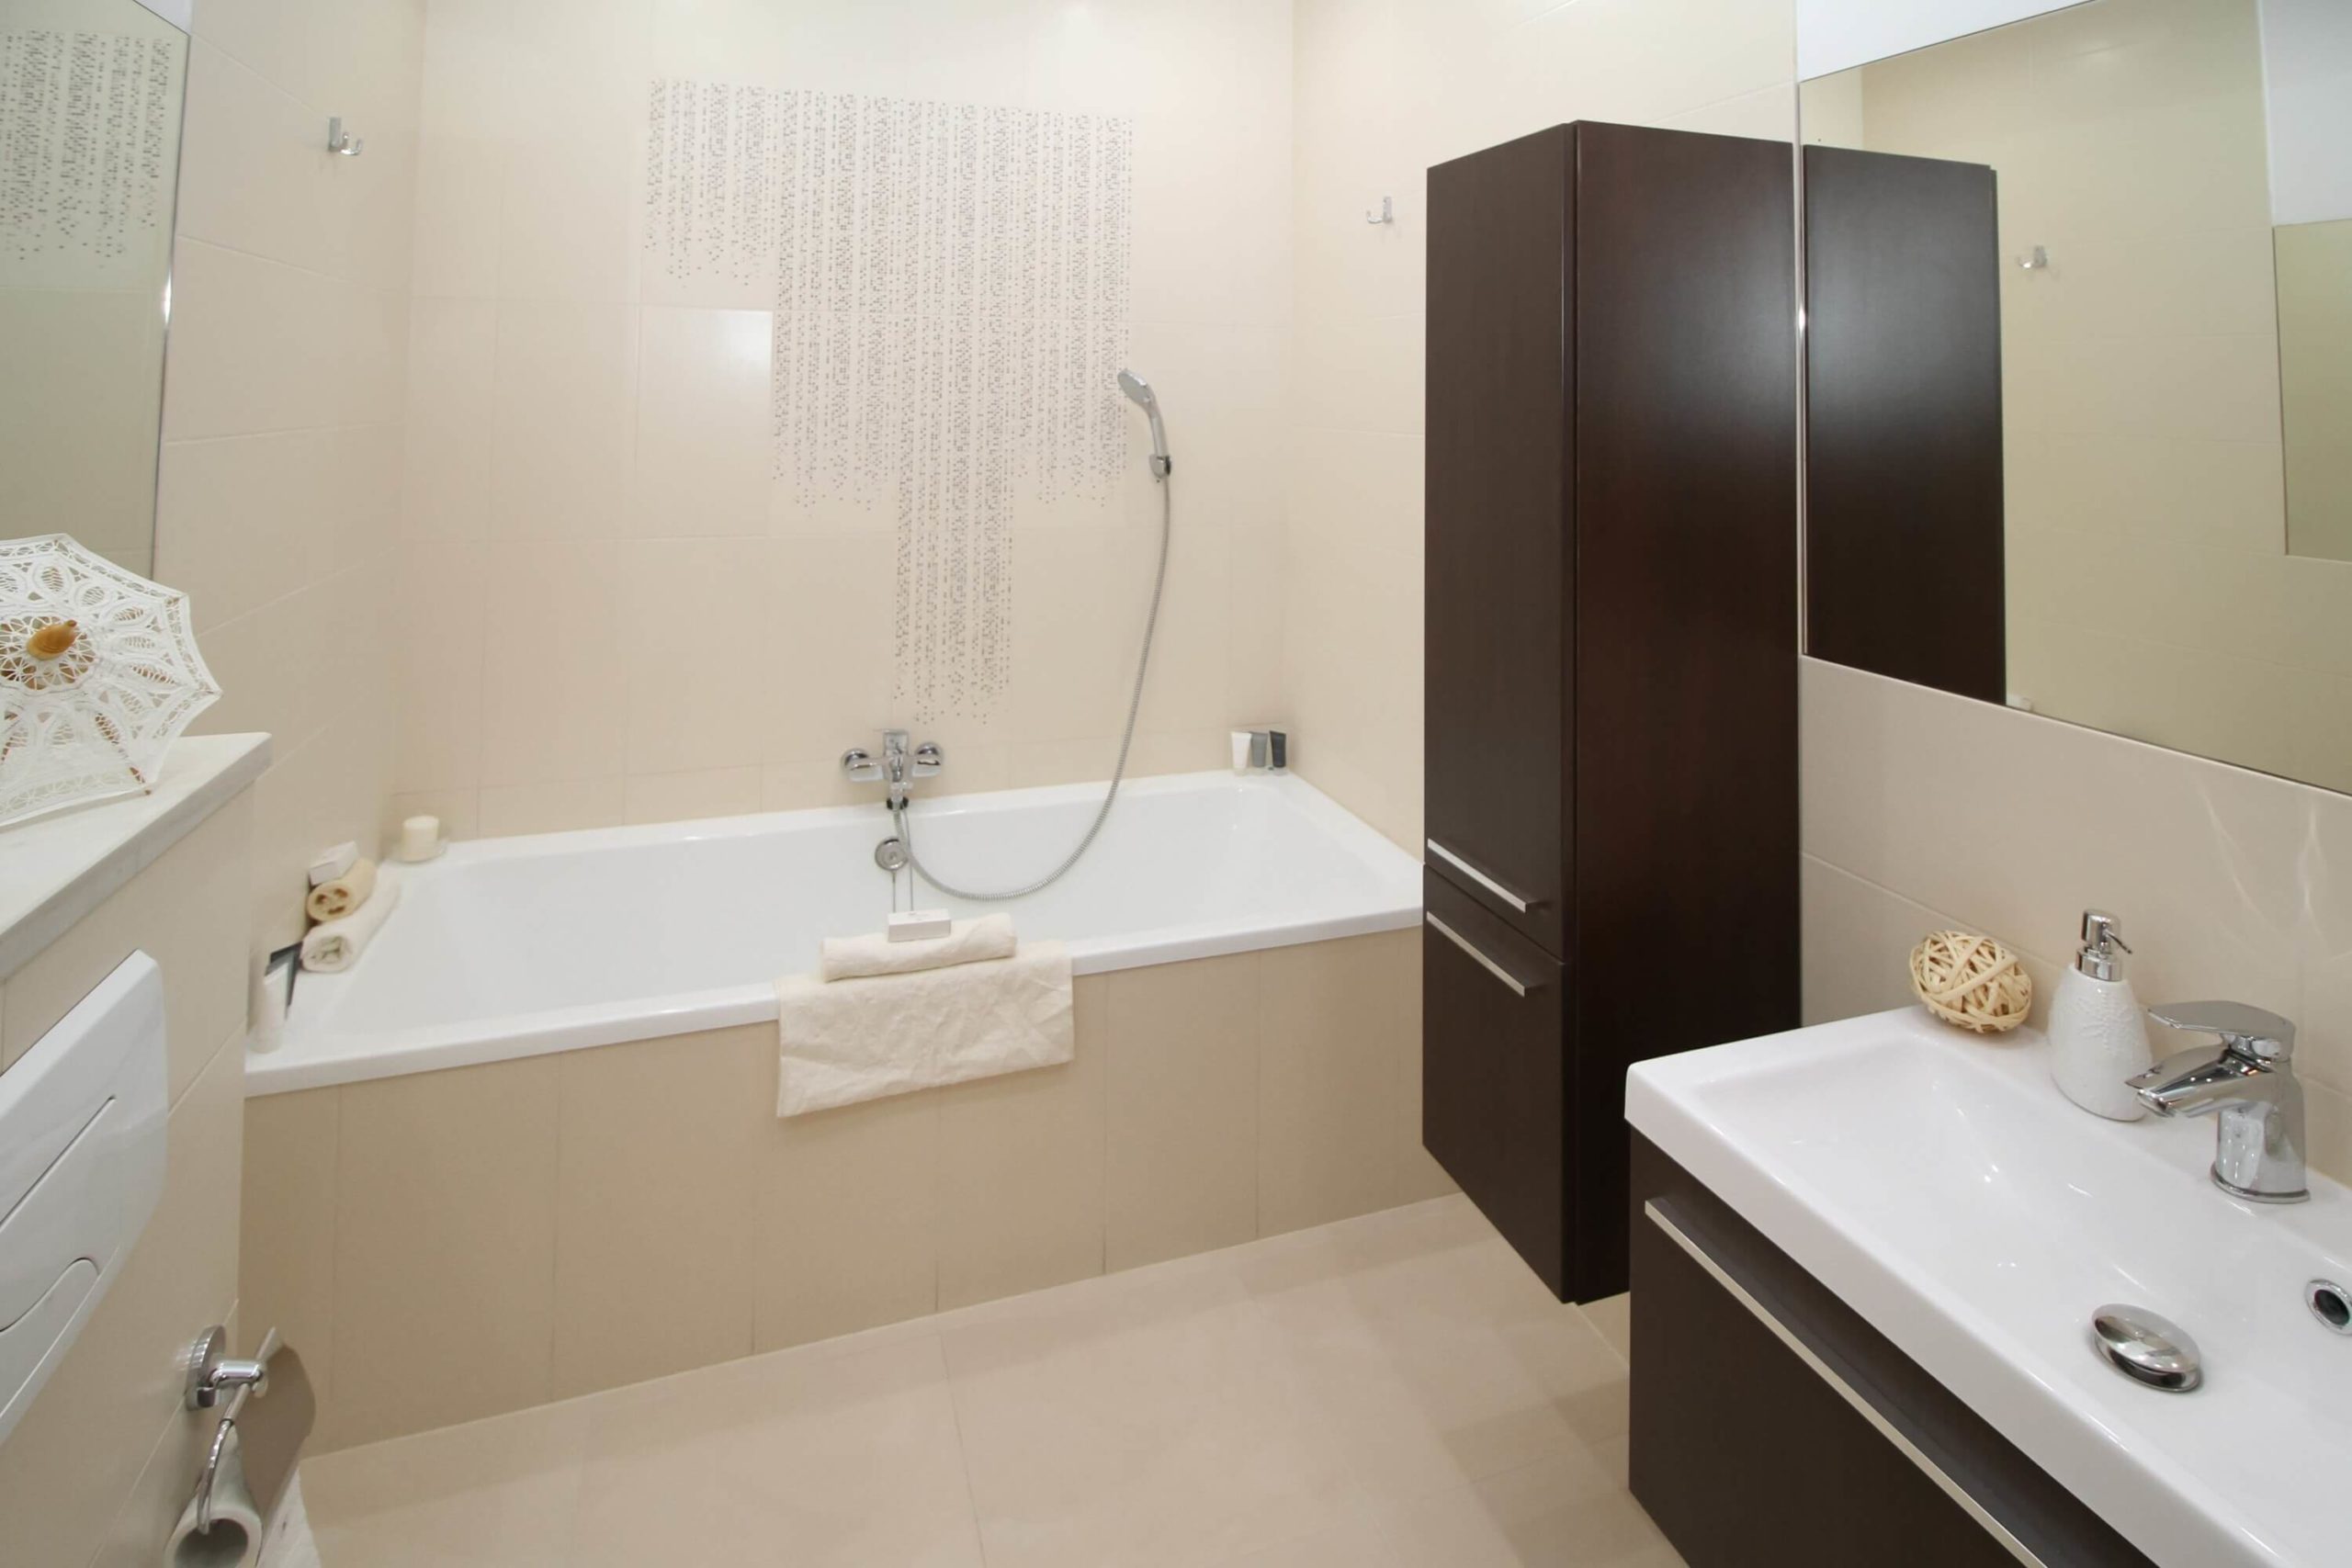
31- First, remove all products from cupboards, shelves, and counters. Discard empty containers, products that have been opened for more than six months, obsolete or not used.
32- Separate daily use products, such as toothpaste, toothbrush, deodorant, and perfume. Store them in a tray on the counter for easy cleanup. Leave the brushes in a covered container or with plastic protectors.
33- In the shower or bathtub, leave only the products you use. It must be cleaned “thoroughly” every two months to prevent the development of fungi and bacteria.
34- Divide your bins by sorting the remaining products into categories – for example, products for nails, hair, body, or teeth. Always stock several duplicate basics in your bathroom, so they are easy to access.
35- Brushes, combs, and hair dryers can go in the drawers. If the bathroom has no space, store it in transparent plastic boxes under the sink.
Another option is to store them in drawers with wheels. You can also hang your hairdryer in a hanging hook. By taking this trick, you create a “hairdresser” atmosphere.
36- Towels can be placed in towel racks behind the door in case of a lack of space in the bathroom. But if the toilet has leftover spaces, store rolls of paper, sanitary napkins, and cleaning supplies that don’t fit in the laundry room.